
As the days get longer, the UK is officially catching spring cleaning fever, with searches for the term jumping by 32% in the last week alone, according to Glimpse. While most of us are busy scrubbing skirting boards and decluttering wardrobes, a silent squatter might be settling in behind your favourite memories.
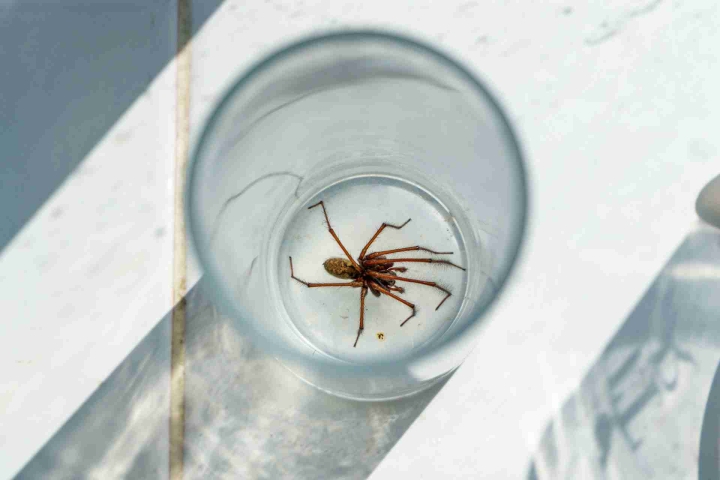
Spring is the peak time for spider activity; as the weather warms, dormant spiders become active, eggs begin to hatch, and they look for quiet, undisturbed corners to build their webs and hunt for spring insects to feast on. And there’s one spot in your home that offers the perfect home for a spider – the back of your canvas prints. The gap between the frame and the wall is warm, dark, and rarely disturbed, making it ideal for eight-legged roommates.
With the spring cleaning season in full swing, Nicole Lambert, Manager at Custtom, explains why you need to take your art off the walls this March, and how to clean it without damaging your precious photos.
Why you need to clean your canvas prints
Your canvas print might be at the bottom of your cleaning to-do list, but research suggests that untouched surfaces, including canvas prints, can collect around 0.1 grams of dust per square metre per day* in the average home.
While this may not sound like much, it adds up over time, resulting in a pest buffet. Not only will the print provide an ideal hiding spot for spiders, but any dust provides them with food while they build their webs and lay eggs. By ignoring your wall art during your spring scrub, you are essentially leaving out a welcome mat for pests.
Beyond the pests, a spring refresh is also vital for the lifespan of your art. Dust can create a hazy film that makes colours look muted in the bright spring sunshine, and dust particles can sometimes react with moisture in the air, leading to yellowing of your print over time, especially if it’s in an area exposed to sunlight.
How to give your canvas prints a spring refresh
The good news? Revitalising your wall art is quick, simple and super satisfying, so here’s your step-by-step guide to a spider-free spring refresh:
-
Wear gloves
No matter what approach you take to clean your canvas print, you’ll need to wear a clean pair of gloves. As the weather warms up, your hands can transfer oils, dirt and fingerprints onto your print, which can leave permanent smudges on a canvas and make cleaning them more difficult. Cotton gloves are the best choice, as rubber or latex gloves could leave a ‘tacky’ residue, which could actually attract more dust later.
-
Take them all down
A thorough spring clean involves taking your prints and pictures off the wall so you can really see what’s going on behind the frame. Check the wall and the print for egg sacs, spiders and webs that may have accumulated over time.
-
Avoid harsh cleaning agents
If you haven’t cleaned your canvas print for a while, you might be tempted to go straight in with strong cleaning products, but that’s not the answer. Harsh products can instantly damage your canvas print, causing fading and discolouration.
-
Start with a gentle dusting
Use a soft feather duster or lint-free cloth and gently brush over (and behind) your canvas print to clear as much dust as you can. Apply too much pressure, and you risk damaging your print.
If your canvas is heavily textured or has deep crevices where spiders might hide, use a vacuum with a soft brush attachment on its lowest setting. This lifts away allergens and spider silk without scratching the ink. Once dusted, your canvas should instantly look more vibrant, too. Bonus!
-
Follow up with a damp cloth
Spring sunlight is unforgiving; it reveals every smudge and fly speck you may have missed in the dim winter light. If, after dusting, you notice dirt marks on your print, it’s time to go in with a damp cloth. Dirt can attract flies and other prey that spiders feed on.
To keep it clean, add a few drops of water onto the cloth, but don’t soak it. Too much water can add excess moisture to your print and cause ink to bleed. Gently rub the cloth against the dirt mark, using circular motions and taking care not to apply too much pressure.
If you have multiple dirt marks, use a clean cloth each time. It might seem like an extra step, but using the same damp cloth repeatedly could spread dirt to other areas of the canvas.
Worried you’ve added too much water? Dab the area with a dry cloth. Avoid dragging the cloth across the canvas, as this could cause the ink to bleed.
-
Stubborn stains? Use a mild detergent
If water isn’t enough to remove stains, you can go in with a mild detergent, such as dish soap. Dilute a small amount with water, apply to a clean cloth and dab gently on the stain. Once the stain is removed, gently clean off any soap using a slightly damp cloth and allow it to dry.
However, it’s always best to test this on an inconspicuous area first (such as the bottom corner), to make sure it won’t damage your print. If you come across a stubborn mark that refuses to lift, it could be worth consulting a professional cleaner to avoid damage.
-
Let it dry
If you used water to clean your canvas, it’s important to allow it to air dry. Before hanging it back up, let it sit in a well-ventilated room to air dry completely. Hanging a damp canvas against a wall creates a pocket of humidity, which could not only cause damp and mould but also the ultimate breeding ground for spring pests.
-
Keep it up
As with most things in life, prevention is better than a cure – so maintenance is key! Aim to dust your canvas prints weekly, or at least monthly, to prevent dust buildup and avoid the need for another deep clean. This will not only keep them nice and clean, but it should also keep spiders at bay.